Winter Survival in the Colorado Rockies — Part 5: Staying Hydrated in the Winter Wilderness
Staying Hydrated in the Winter Wilderness: Water Tips for Everyday Adventurers

Getting lost or stranded in the wild is something that could happen to just about anyone. Day hikers, tourists, Sunday drivers and experienced outdoorsmen are all subject to circumstances beyond their control. Any and all of them could end up alone and lost, with only their wits to rely on for survival. The single most important thing you need to live is water. If you're resourceful and know where to look, you can find or collect good drinking water in just about any environment on Earth.
To maintain good health, the human body needs a minimum of two quarts of water per day [source: Field Manual 21-76-1]. If you're lost in the wild, chances are you'll be exerting yourself, and you may be in a hot or cold environment. Both of these factors mean you should drink more than the minimum amount. It's easy to think that a cold environment might pose less of a risk, but that's not the case. You may perspire less, but you lose water through your skin because of the dry air. You should also drink more water if you're in heavy winds.
Your body is about two-thirds water and uses it to help circulate blood, process food and assist other internal processes. If you use more water than you take in, you'll begin to suffer from dehydration. With severe dehydration, your cells shrink and circulation stops, causing a lack of oxygen flow to your muscles. Dehydration can start as soon as six hours of not having water, and more than a full day without water is cause for serious concern. The human body can only live about three days without it.
Now that we understand the importance of water, it should be pretty clear that your shelter should be as close to a water source as possible. If you're lucky enough to find a source, you need to make sure you purify it. Clear rivers and lakes may look clean, but there are millions of organisms in fresh water. If you don't purify it, you can get extremely sick from bacteria or viruses. Freshwater springs can be safe to drink from without filtering, but in a survival situation you should err on the side of caution.
In this article, we'll take a look at different ways you can find or collect safe drinking water in the wild.
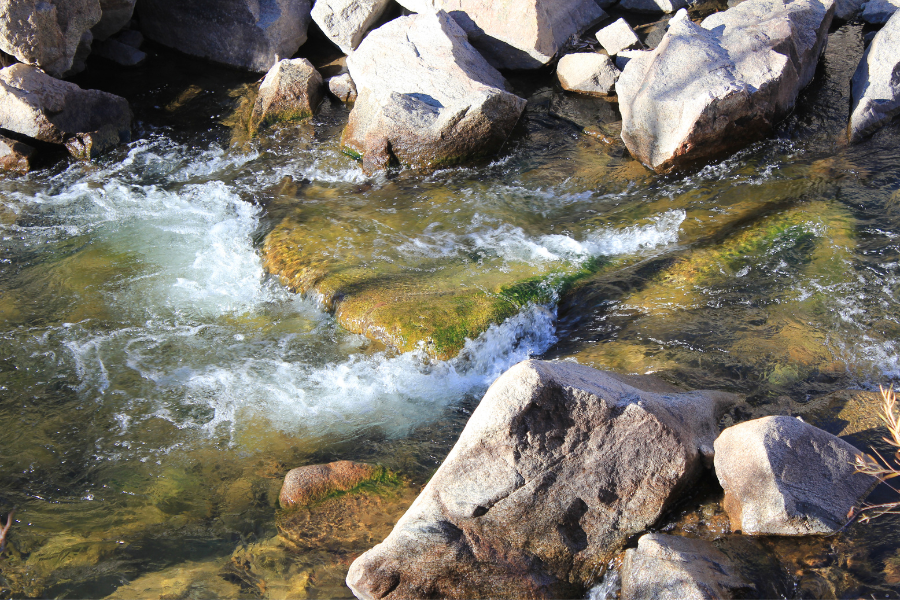
The first thing you should do if you're stranded in the wild is find a source of drinkable water. The most obvious sources are streams, rivers and lakes. Animals always know where the water is, so be on the lookout for wildlife or animal tracks. Lush green vegetation is also a sign that water is nearby. Swarming insects may be a hassle, but they also signal that a water source isn't far away. Bird flight paths in the morning or evening can point you in the right direction. Stay on the move until you find a water source. When you pause to rest, use your ears -- rivers can be heard in the quiet woods from great distances. Remember that water always flows downhill, so low-lying areas and valleys are a good bet.
If you find a muddy area, there may be groundwater available. Dig a hole about a foot deep and one foot in diameter and wait. You may be surprised to find that the hole is soon filled with water. This groundwater will be muddy, but straining it through some cloth will clean it up, and it will get you by in the short term. It's crucial to remember that any time you drink found water without purifying it, you're taking a risk.
Rainwater in most rural areas can usually be consumed without risk of disease or illness. If it rains, use any and all containers you can get your hands on to collect it. If you have a poncho or can find some plastic sheeting, spread it out and tie the corners to trees a few feet off the ground. Find a container and tie the poncho on a slant with a slight sag to allow the rain to collect and drain. If you can't find a container, tie it level on all four corners and give it even more of a sag -- it will serve as a makeshift water bag. If the rainwater tastes a little different, it's because it lacks certain minerals that are found in groundwater or streams.
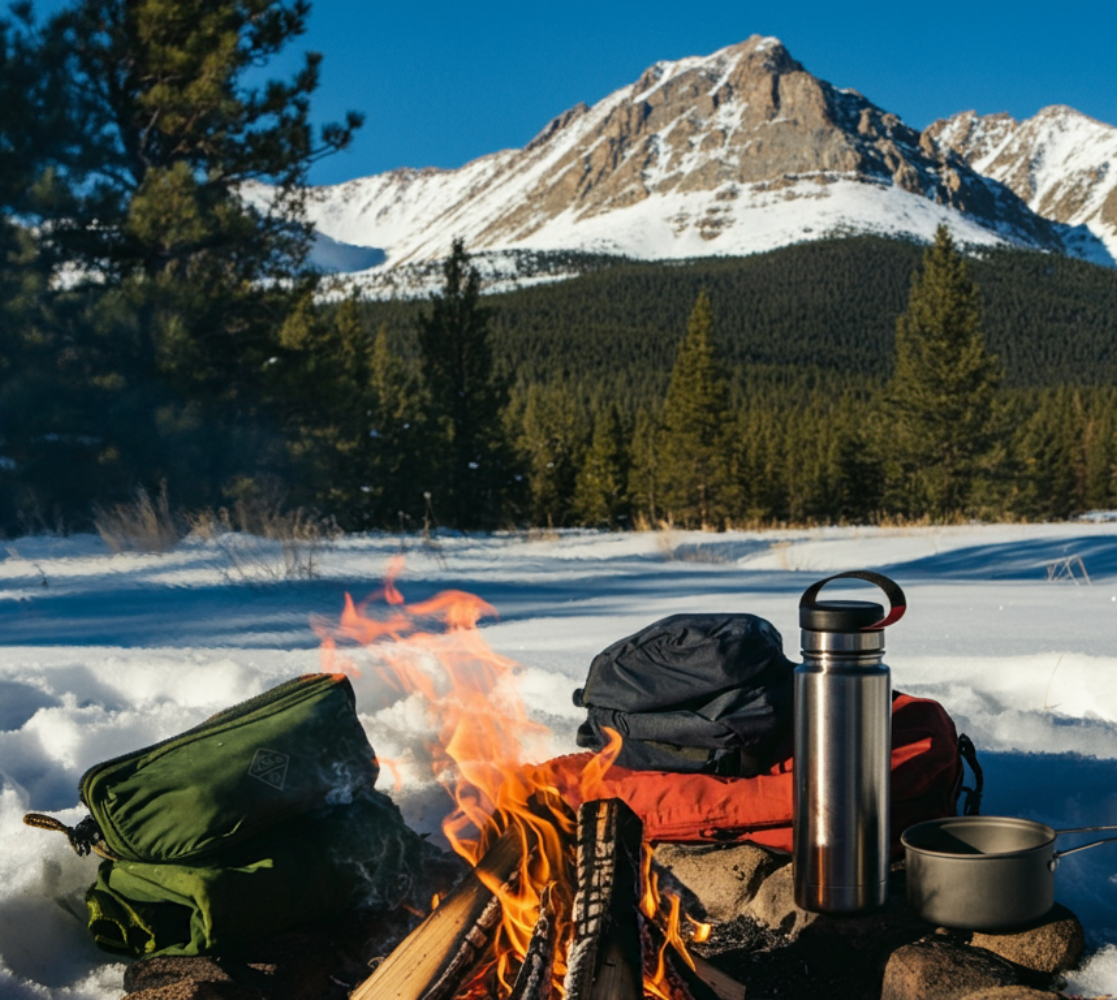
If you're near snow and ice, melt it and drink the water. Don't ever eat it frozen -- it'll reduce your body temperature and lead to dehydration. The melted snow and ice should also be purified if you have the means.
Heavy dew can also provide potable water. Before the sun rises, tie some absorbent cloth around your shins and take a walk through some high grass. You may be able to soak up enough water for an early morning drink. Vegetation helps supply you with water as well. Fruits, coconuts, cacti, vines, palm trees and bamboo can be good sources of liquid sustenance. Bend the top of a green bamboo tree down about a foot off the ground and tie it off. Cut a few inches off the tip, put a container underneath and leave it overnight. The next day, you should have a nice amount of clear, drinkable water.
No matter how dire your circumstances, you should never drink the following:
Fresh sea ice is milky or grey, has sharp edges, does not break easily and is extremely salty. Older sea ice is usually salt-free, and you can spot it by its blue or black tint, rounded edges and breakability. As with snow, you should melt old sea ice and ideally purify it before you drink it. In the next section, we'll look at some water collection methods.
If you're stranded and there isn't a fresh water source around, then you need to get to work on collecting water. There are a few techniques to do this, and it doesn't hurt to set up more than one system. The more water you can collect, the better your chances of survival.
One pretty basic way you can collect water is to make a belowground still. To do this, you'll need some plastic sheeting, a digging tool, a container, a drinking tube and a rock.
The moisture from the ground reacts with the heat from the sun to produce condensation on the plastic. The still forces the condensation to run down the plastic and into your container. You can also add vegetation inside the hole to increase the amount of moisture -- just make sure the plants aren't poisonous. Use the tube to drink directly from the container. If you don't have one, you can remove the container and reassemble it after. A good still can produce up to one quart of drinking water per day. For better-tasting water, let it sit for 12 hours if you can afford to. You can also make a filter to remove any visible particles:
the filter and catch it in another container below. The water should come through fairly clear, if not you can pour it through again. Add charcoal from your fire to remove odor -- just make sure you filter the charcoal out with some cloth. This method merely removes large sediment and improves the taste. You should always purify the water by boiling it.
In the next section, we'll look at some other techniques for collecting water.
If your energy is low, you'll want to avoid the digging involved in a belowground still. All you really need is a clear plastic bag, and you can use the transpiration technique to collect potable water:
Over the course of the day the plant will transpire and produce moisture that will collect at the low point. Poke a hole to drink the water or pour it into a container for later. The water will taste like whatever plant you choose, but it's better than nothing. It's also important to use non-poisonous vegetation. Once you're done, tie the hole shut and reuse the bag.
If you're near the coastline, a beach well is an excellent way to get drinkable water. Dig a 3-5 foot hole in the depression behind the first sand dune. This is typically about 100 feet from the waterline. Put rocks in the bottom of the well to keep sand from getting too active and line the sides with wood if you can -- this will prevent the walls from caving in. In a few hours, you could have up to five gallons of filtered water. If it tastes too salty, you should move further back behind the second sand dune.
Over the course of the day the plant will transpire and produce moisture that will collect at the low point. Poke a hole to drink the water or pour it into a container for later. The water will taste like whatever plant you choose, but it's better than nothing. It's also important to use non-poisonous vegetation. Once you're done, tie the hole shut and reuse the bag. If you're near the coastline, a beach well is an excellent way to get drinkable water. Dig a 3-5 foot hole in the depression behind the first sand dune.
This is typically about 100 feet from the waterline. Put rocks in the bottom of the well to keep sand from getting too active and line the sides with wood if you can -- this will prevent the walls from caving in. In a few hours, you could have up to five gallons of filtered water. If it tastes too salty, you should move further back behind the second sand dune.
Now that we've collected water, it's time to purify it.
Giardiasis isn't the name of a fine Italian wine. It's actually the most common waterborne disease in humans. Giardia lamblia is a parasite that lives in the intestines of humans and animals. It's expelled from the body in feces, and if it's near a body of water, the lake or stream will be contaminated.
Cramping, nausea and diarrhea are the most common symptoms of giardiasis. Symptoms may not show up for two weeks and once present can last as long as six weeks. If infected, get medical attention as soon as possible.
Cryptosporidiosis doesn't sound too inviting either, and for good reason. It's another waterborne illness involving parasites found in feces. The same symptoms as giardiasis can be expected, but more severe. Both of these parasites can be found in soil and vegetation as well, so wash anything you plan on eating in purified water and remember -- to give yourself the best chance at survival, you should always boil your water, even if it looks clean and clear.
If you're lost in the wild near a river or lake, half the battle is over. In order to safely drink this water, you need to purify it. Boiling is the best and easiest way to make fresh water safe -- 10 minutes at a steady boil is a good rule of thumb. Of course, boiling water means you need fire and a container of some kind. If you don't have a container, you can probably find one or more of these items:
Use your shirt or other cloth to filter out large bits of sediment before boiling. Believe it or not, plastic bottles do work for boiling. One method is to completely fill the bottle with water, cap it and drop it into some hot coals. The lack of air in the bottle should keep it from melting. If you don't have enough water to fill the bottle, suspend it above the fire with rope or vine so the flames just touch the bottom. The risk of boiling in a plastic bottle is that your bottle and main collection device may be gone. If you can't start a fire, leave the water in the sun in a clear container to help kill bacteria.
Another way to purify water is to use purification tablets. Many companies manufacture them, and they're mandatory in any survival kit. The tablets use either iodine or chlorine to treat the water. Many people are allergic to iodine, so make sure you know if you are before you use them. Murky water often needs more than one tablet to make it safe, and any tablet needs at least 30 minutes to be fully effective. Like with boiling, it's best to give the water an initial straining with some kind of cloth. It's also safer to drink warmer water, so if it's from a cold mountain stream, allow it to heat up a little in the sun first.
When you drop the tablet in the bottle, swish some of the water onto the cap and the mouth's threads. After boiling it or treating it with tablets, pour the water back and forth between two containers. It will add oxygen and improve the taste.
The market for portable water filters and purifiers is, well, flooded. There are dozens of products to choose from, but they all basically work the same -- water is pumped in one end, goes through a series of filters and treatments and then out the other end. Some of them work by hanging a bag from a tree and letting gravity do its thing, and some have hand pumps. Some are battery operated and some are built into the center of a water bottle.
There is a difference between filters and purifiers. They both get rid of dangerous bacteria, but purifiers take care of viruses as well. The purifiers use chemical agents in addition to the regular filtration system. Most filters use a core made from ceramic, carbon or fiberglass. Purifiers have an additional chemical layer of iodine resin.Even when using water filters, you should avoid water from areas where there's been obvious human or animal traffic [source: REI]

Staying Hydrated in the Winter Wilderness: Water Tips for Everyday Adventurers

Top 10 Must-Haves Humans are no longer naturally equipped to thrive in the wilderness unaided. Our greatest survival asset is our brain, which has...

11 min read
Bug Out Bag: Things to Consider Many factors come into play when you are building a bug out bag. First thing you need to consider are your...