Cart
15 min read
Winter Survival in the Colorado Rockies — Part 1: Introduction and Pre-Trip Planning
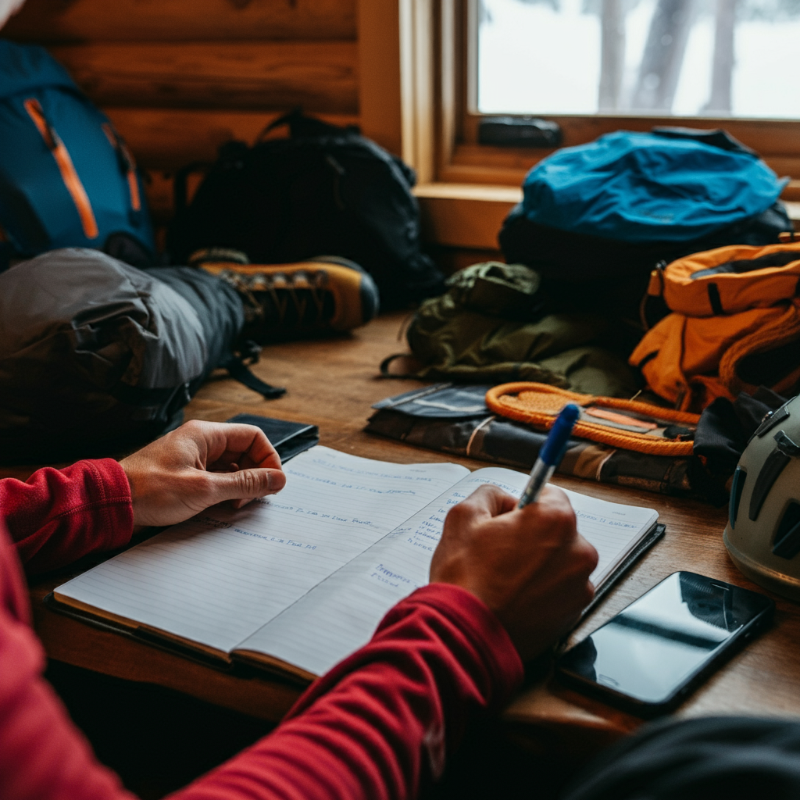
Laying the Groundwork: How Thoughtful Preparation Can Make or Break Your Winter Adventure
When winter blankets the Colorado Rockies with snow and ice, it transforms into one of the most stunning, yet unforgiving, environments on Earth. Whether you’re planning a backcountry ski adventure, a snowshoe trek, or simply exploring its beauty, the stakes are higher in winter. The Rockies don’t cut you any slack if you’re unprepared. If you want to master survival skills before venturing out, check out our Winter Survival Course.
This blog series, Winter Survival in the Colorado Rockies, is here to guide you through everything you need to know to thrive (or at least survive) in this awe-inspiring wilderness during its most challenging season. In this first installment, we’ll focus on pre-trip planning, because, let’s be honest, even the best skills and gear are no match for poor preparation.
As you follow this series, we’ll cover everything from gear and shelter to avalanche safety and wildlife encounters. By the end, you’ll be ready to tackle the Rockies’ winter wonders with confidence, or at least avoid becoming a cautionary tale.
Why Pre-Trip Planning Matters
If you’ve ever found yourself lost in the grocery store without a shopping list, you know the chaos that can ensue. Now imagine that scenario at 10,000 feet in sub-zero temperatures with a blizzard rolling in. Pre-trip planning for winter adventures isn’t just smart, it’s the foundation of a safe and enjoyable experience.
Winter conditions in the Rockies are unpredictable, with rapid temperature drops, high winds, and heavy snowfall. The terrain is rugged, the weather changes on a dime, and even the most experienced adventurers can find themselves in trouble. Solid planning helps mitigate risks and prepares you for the unexpected.
Pro Tip: Preparation isn’t just about planning your trip, it’s about sticking to your plan and ensuring others know it. Avoid alternate routes unless absolutely necessary, as they can make it difficult for rescuers to find you if something goes wrong. If your planned route becomes unsafe or inaccessible, call it quits and head home. If you’re determined to continue, notify your designated contact person immediately with updated details. If you can’t reach them, don’t proceed. It’s not worth the risk!
The Basics of Pre-Trip Planning
1. Check Weather Forecasts and Avalanche Reports
Colorado’s winter weather can turn from sunny to stormy in hours. Before you head out, know exactly what conditions you’ll face. Here’s how:
-
Weather Forecasts: Use reliable resources like National Weather Service (NWS) or Mountain Weather for accurate, localized forecasts.
-
Avalanche Conditions: Check daily updates from the Colorado Avalanche Information Center (CAIC). Understanding avalanche risk isn’t just for skiers—it’s critical for anyone in snowy terrain.
What to Look for in a Forecast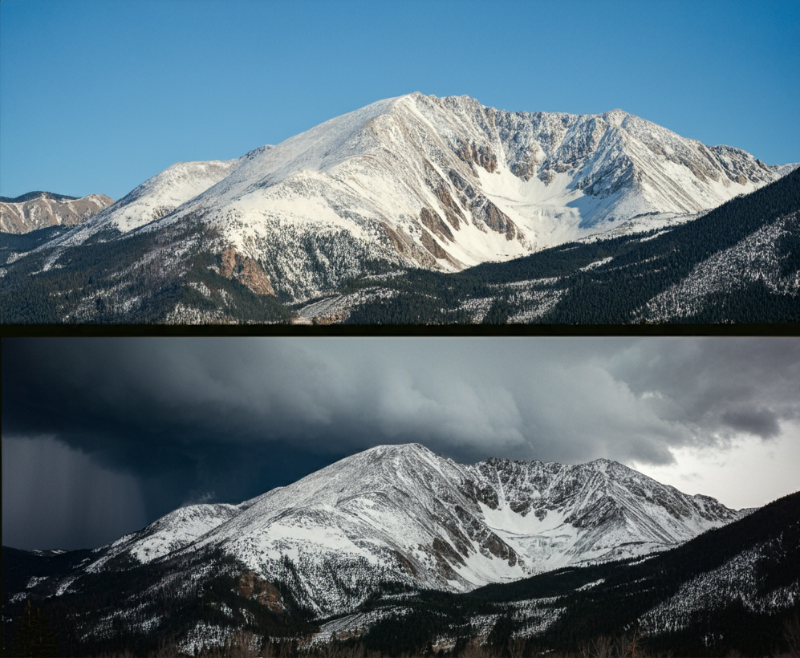
-
Temperature: Pack appropriately for extreme cold or sudden temperature drops.
-
Wind: High winds can create wind chill, increase hypothermia risk, and contribute to unstable snow conditions.
-
Snow Accumulation: Fresh snow raises avalanche danger; check for recent storms.
-
Storm Timing: Know when and where storms will hit to avoid getting caught mid-hike.
-
Visibility: Fog or snow can reduce visibility, making navigation more difficult.
-
Sun Exposure: Clear skies can mean intense UV rays at higher elevations. Bring sun protection.
- Driving Conditions: Check for icy roads, snow-packed passes, and potential road closures to ensure a safe drive to and from the trailhead.
2. Inform Others About Your Itinerary
One of the simplest yet most vital safety measures you can take is ensuring someone knows where you’re going and when you plan to return. If something goes wrong and you can’t call for help, having someone who knows your exact itinerary can mean the difference between being found quickly or not at all.
Being prepared for emergencies can save your life. Our Search and Rescue Training teaches you practical skills to stay safe and assist others in the wilderness.
Start by selecting a reliable contact person, someone who will notice if you don’t check in and will take appropriate action. Share your trip details in writing or digitally, so there’s no confusion or missed information. Make sure they know the importance of contacting search and rescue if you don’t return or check in by the agreed time.
Here’s what to include in your itinerary:
-
Your planned route: Specify trailheads, routes, waypoints, and planned stops. Include details about the areas you’ll be in and alternative locations you might explore, but emphasize that these are not deviations unless you notify them.
-
Expected return time: Be realistic about your schedule and allow for contingencies, but set a clear deadline for when they should start worrying.
-
Who you’re with: Provide the names and contact information of everyone in your group. This helps rescuers know who they’re looking for.
-
Vehicle details: Include your vehicle’s make, model, color, and license plate number. If your car is parked at the trailhead, this is often the first place rescuers will check.
-
What you’re wearing: Provide a description of your clothing and gear. Bright, distinguishable items like a red jacket or neon backpack can help searchers spot you more easily.
-
Emergency plan: Let them know what actions you plan to take in case of trouble, such as staying put or moving to a specific landmark.
Consider GPS Tracking and Emergency Communication Tools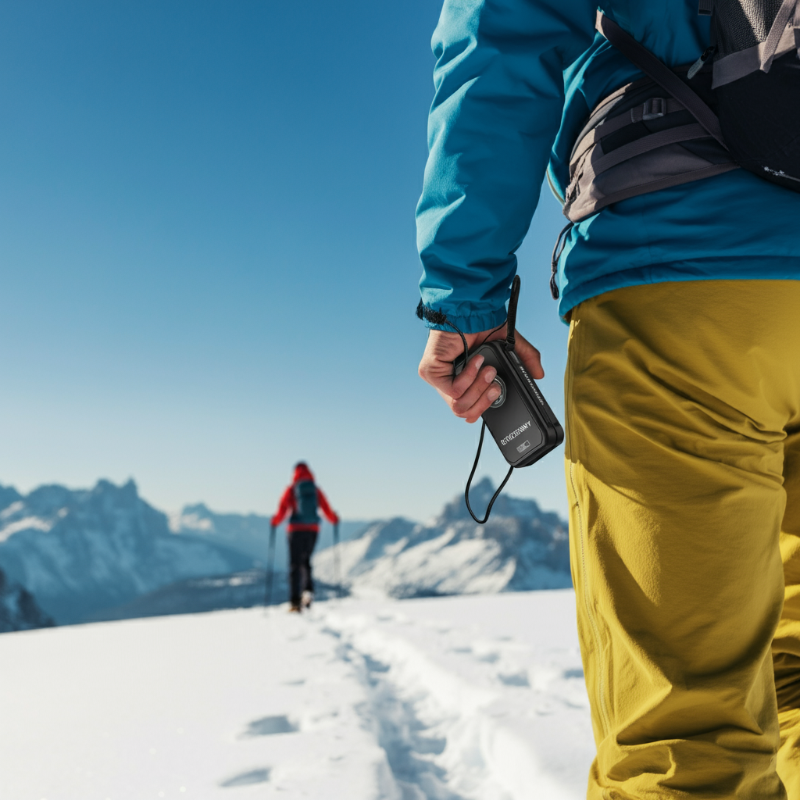
While leaving your itinerary with someone reliable is critical, modern technology offers another layer of security. Devices like the Garmin InReach or Saved by SPOT allow you to send real-time GPS updates and even emergency SOS signals if you’re in trouble. These tools are particularly useful in areas with no cell service.
Here’s why they’re worth considering:
- GPS Tracking: Your contact person can monitor your progress in real time, ensuring you stay on track. If something goes wrong, rescuers can pinpoint your location quickly.
- Two-Way Communication: Many devices allow you to send and receive messages, even in remote locations. You can update your contact person about delays, changes in plans, or emergencies.
- SOS Features: With the push of a button, you can alert professional rescue services to your exact location, saving valuable time in a crisis.
However, it’s important to understand that hitting the SOS button doesn’t guarantee immediate help. In severe weather conditions, rescuers often have to wait for storms to pass before they can begin a search. It could take hours or even days, for them to reach you. Helicopters, while sometimes used, are not the instant solution Hollywood portrays. Mountainous terrain, strong winds, and poor visibility often make aerial rescues impossible or highly delayed. Always be prepared to endure your situation for an extended period after signaling for help.
Pro Tip: Don’t Deviate from Your Plan. Resist the temptation to explore alternate routes or “just see what’s over that ridge” without notifying your contact person. If you deviate from your plan and something goes wrong, rescuers won’t know where to start looking. Stick to your planned itinerary, and if you absolutely must make changes, notify your contact immediately. If you can’t reach them, don’t proceed. Return home instead!
Informing others about your itinerary is more than just a courtesy, it’s a lifeline. Taking this step seriously ensures that if the unexpected happens, someone has your back and knows how to get help on the way.
 What to Include in Your Trip Plan
Planned Route and Alternate Routes: Include details of your intended path, notable landmarks, and any alternate routes you might take if the primary path is impassable.
Estimated Timeframes: Specify when you plan to start and finish your trip, including key milestones (e.g., expected times to reach certain locations or campsites).
Planned Activities: Note specific activities (e.g., snowshoeing, backcountry skiing) and any associated risks.
Weather Expectations: Include a summary of the forecasted weather conditions for the duration of your trip to help others understand potential risks.
Emergency Signal Plan: Outline any planned signals for distress, such as the use of a whistle, mirror, or emergency beacon.
Group Details: If traveling with others, include their names, ages, and any medical conditions or allergies that could be relevant.
Supplies List: Provide a brief inventory of your critical supplies, such as food, water, shelter materials, and first aid kit.
Medical Information: Note any personal medical conditions, allergies, or medications you’re carrying, as well as instructions for use if needed.
Emergency Procedures: Detail what you plan to do in the event of an emergency (e.g., stay put, head to a specific location, or signal for help).
Vehicle Location Details: Include the exact parking location of your vehicle, such as a trailhead or lot, and whether you’ve left any notes or indicators inside.
Communication Tools and Frequencies: List devices you’re carrying, such as a GPS, satellite phone, or radio, along with frequencies or instructions for use.
3. Understand the Unique Challenges of the Rockies in Winter
The Colorado Rockies are breathtaking in the winter, with their snow-covered peaks and serene landscapes. But behind the beauty lies a challenging and unpredictable environment. Understanding these challenges is an important part of your pre-trip planning. The more you know about the Rockies’ unique risks, the better prepared you’ll be to face them.
Altitude: Know Before You Go
The high altitude of the Rockies isn’t just a physical test; it’s a logistical one. Altitude sickness can strike anyone, regardless of fitness level, and symptoms like headaches, nausea, and fatigue can derail your trip. Before heading into the high country, plan for acclimatization. Spend a night or two at a moderate elevation if you’re coming from lower altitudes.
Altitude sickness can derail your trip fast. Learn how to prevent and treat it with our Wilderness First Aid Course.
Hydration is also key to staying healthy at altitude. The cold, dry air dehydrates your body faster than you realize. Include hydration strategies in your planning—bring water and electrolyte supplements, and account for how much water you’ll need for your trip.
Pro Tip: Research the elevation of your route and identify lower areas where you can retreat if symptoms of altitude sickness worsen.
Snowpack: The Hidden Hazard
Snow-covered trails might look inviting, but they can hide a variety of hazards. From obscured paths to unstable snow bridges, the terrain is full of surprises. During pre-trip planning, study your route for areas that may pose challenges, such as steep inclines or avalanche-prone zones.
Avalanches aren’t just a backcountry skiing issue, they can affect hikers and snowshoers, too. Review avalanche forecasts from the Colorado Avalanche Information Center (CAIC) and steer clear of slopes with a history of instability. If your route passes near avalanche terrain, consider taking an avalanche awareness course before your trip.
Pro Tip: Plan your route to stick to established trails whenever possible, and mark potential hazard areas on your map to avoid surprises.
Limited Daylight: Plan for Early Starts
Short winter days mean you’ll have less time to complete your trip than you would in other seasons. This can make seemingly manageable routes far riskier if you’re caught out after dark. Darkness not only hampers navigation but also brings a sharp drop in temperature.
When planning your itinerary, factor in how long your route will take and add a buffer for unexpected delays. Always plan to finish your day’s travel well before sunset, and pack a reliable headlamp with spare batteries in case your timeline slips.
Pro Tip: Use tools like sunrise and sunset calculators to estimate daylight hours for the specific date and location of your trip.
Weather: Expect the Unexpected
Winter weather in the Rockies is notoriously unpredictable. A sunny morning can quickly turn into a whiteout blizzard. Before your trip, monitor weather forecasts closely, but also plan for conditions to change rapidly.
Pack extra layers, windproof outerwear, and emergency gear like a space blanket or bivy sack in case the weather deteriorates. Ensure your route has a safe retreat option if a storm hits.
Pro Tip: Create a checklist of weather-related contingencies, including extra clothing, backup shelter options, and emergency contacts to alert if you need to abandon your trip.
Adding It All Together
Pre-trip planning isn’t just about the gear you bring; it’s about knowing what to expect and building strategies to handle the challenges unique to the Rockies. By accounting for altitude, snowpack, daylight limitations, and weather, you’ll set yourself up for a safer and more enjoyable winter adventure.
Remember: The Rockies are stunning, but they don’t care about your plans. Respect the challenges of the environment, and prepare for them before you even step onto the trail.
4. Pack Wisely
Packing for a winter trip in the Rockies is not about bringing everything you can fit in your bag, it’s about intentional choices. Each item should serve a purpose and contribute to your safety and comfort. While we’ll dive into gear specifics in Part 2, here are the key considerations for pre-trip planning:
- Emergency Supplies: Always include a well-stocked first aid kit, high-calorie snacks or meal replacements, and a reliable backup heat source like chemical hand warmers or a small emergency stove. These items could mean the difference between discomfort and a life-threatening situation.
- Navigation Tools: A GPS device is fantastic, but the cold can drain batteries quickly, and technology can fail. Always carry a topographic map and a compass as your primary navigation tools and know how to use it. Familiarize yourself with your route ahead of time to minimize reliance on devices. If you want to build confidence in your navigation skills, consider joining our Navigation Course.
- Prepare for an Overnight Stay: No matter how short your trip is planned to be, pack as if you might need to spend the night. Include a lightweight bivy sack or emergency blanket, extra layers for insulation, and a waterproof outer shell. It’s better to have it and not need it than the other way around.
Pro Tip: Lay out your gear before packing and ask yourself: If I don’t bring this, will it significantly reduce my chances of staying safe or warm? If the answer is no, leave it behind!
5. Know Your Limits
Ego has no place in the winter wilderness, overconfidence is one of the most dangerous attitudes you can bring into the Rockies. The harsh environment doesn’t care about your past adventures, how fit you are, or how much gear you have. It rewards humility, preparation, and self-awareness.
Be brutally honest about your physical condition and skillset. Can you hike at high altitudes while carrying a heavy pack in sub-zero temperatures? Do you truly know how to navigate with a map and compass if your GPS fails? Can you build a shelter or start a fire if you’re caught in a sudden storm? If the answer to any of these questions is “not confidently,” rethink your plans or seek training before heading out.
The wilderness has a way of exposing gaps in your preparation. That overly ambitious route? It can leave you stranded in whiteout conditions. That steep slope? It could trigger an avalanche. Knowing your limits isn’t a sign of weakness; it’s a strength that keeps you alive.
Pro Tip: Listen to your gut. If something feels off, whether it’s the weather, your energy level, or your gear, it’s okay to turn back or change your plans. A mountain will always be there for another attempt, but only if you survive to try again.
Respect the wilderness, and it just might respect you back.
Wrapping Up
Preparation is the first and most important step to enjoying (and surviving) the Colorado Rockies in winter. By researching conditions, sharing your plans, and understanding the terrain, you’ll set yourself up for success.
Stay tuned for Part 2, where we’ll dive into the gear and clothing you’ll need to stay warm,  dry, and ready for anything. Whether it’s your first time in the Rockies or you’re a seasoned adventurer, there’s always more to learn.
If you’ve ever had a winter trip go hilariously wrong (or narrowly avoided disaster), share your story in the comments, we might even feature it in a future post!
Bookmark this blog, pack your sense of adventure, and let’s explore the Rockies together!
-
Part 1: Winter Survival in the Colorado Rockies — Introduction and Pre-Trip Planning
-
Part 2: Winter Survival in the Colorado Rockies — Must-Have Gear and Clothing
-
Part 3: Winter Survival in the Colorado Rockies — Building and Maintaining a Shelter
-
Part 4: Winter Survival in the Colorado Rockies — Starting Fires in Snowy Conditions
-
Part 5: Winter Survival in the Colorado Rockies — Staying Hydrated in the Winter Wilderness
-
Part 6: Winter Survival in the Colorado Rockies — Navigating and Avoiding Avalanche Danger
Leave a Comment
Winter Survival in the Colorado Rockies — Part 8: Wildlife Awareness and Safety
Learn how to stay safe and warm in the Colorado Rockies this winter. Discover practical tips for preventing and treating cold-weather injuries like hypothermia, frostbite,...
Winter Survival in the Colorado Rockies — Part 1: Introduction and Pre-Trip Planning
Because of technology more Americans are heading out into the wilderness, unprepared. With Facebook, Instagram and many other social media platforms at your fingertips, people...
Top 10 Mistakes in the Backcountry
TOP 10 MISTAKES IN THE BACKCOUNTRY Regardless of experience level, no one is immune from getting lost, injured, or killed while recreating or working in...

