Cart
Sub-Total: $0.00
20 min read

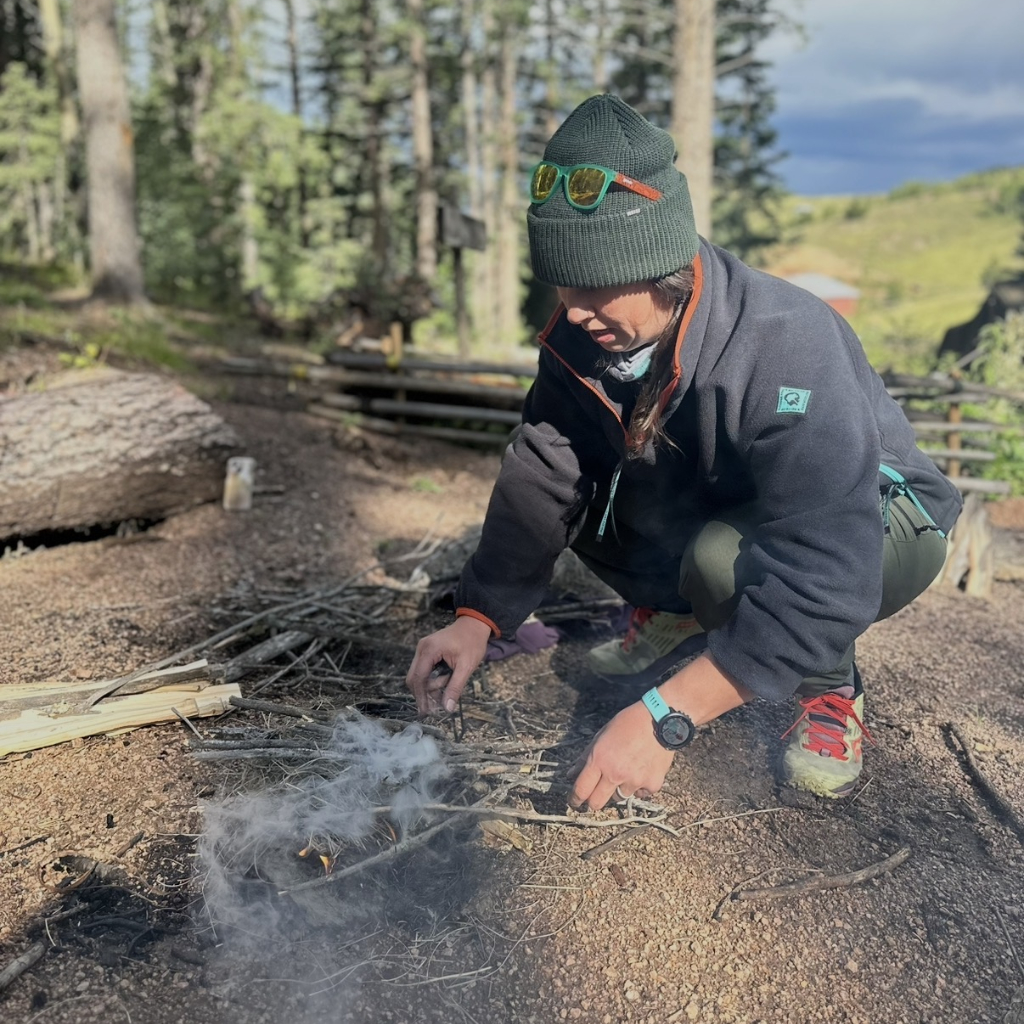
Image note: The images in this article were created with AI to illustrate the lessons. They are not photographs of students or a specific class.
I hear some version of “I know how to start a fire” in just about every survival class I teach. Sometimes the person saying it has the experience to back it up. Sometimes they have started plenty of campfires with a lighter, a commercial fire starter, and a stack of split wood, and they assume that experience will carry over to anything. Then I change the conditions, remove a familiar tool, or introduce a little pressure, and the survival fire they expected to build becomes a pile of sticks with smoke coming out of it.
The mistakes are remarkably consistent. Students gather too little fine material, skip straight to wood their flame cannot consume, or dump a handful of sticks onto a fire that was doing fine until they tried to help. Once it starts dying, they get frustrated and repeat the same thing that killed it. I have watched someone spend twenty minutes fighting a fire when another few minutes spent gathering and preparing the right material would have made the job much easier.
That is what I want to explain here, because knowing how to create a flame is only part of knowing fire. You also have to understand what that flame can eat, how to keep it breathing, and when you are asking it to do more than it can handle. The way I teach that starts with a baby, a plate of food, and the fairly reasonable idea that you should not feed a newborn a steak.
When students watch me establish a fire, they tend to notice the last twenty or thirty seconds. I introduce the ignition source, feed the flame, and it grows quickly enough that they want to know what I did differently. What they are seeing is the end of the preparation process. I may have spent ten or fifteen minutes gathering, processing, and sorting everything before I ever touched the lighter, match, or ferro rod.
In an unfamiliar area or with difficult material, that preparation might take closer to thirty minutes. I am looking for enough fine tinder to get started, enough tiny material to keep the first flame alive, and a gradual progression of larger fuel. I also want a reserve of the little stuff. Having exactly enough tinder for one attempt leaves you with very few options if something goes wrong or the fire needs more help than you expected.
Compare that with the student who finds a handful of grass and three sticks, lights the grass, and then starts looking around for whatever comes next. Their preparation is now competing with a flame that is burning through the only food it has. They reach for the closest stick because it is available, even though it is too large, and then wonder why the fire disappeared. The ignition worked perfectly. The preparation did not carry them far enough.
The words tinder, kindling, and fuel make fire sound like three simple categories, but there are several useful sizes inside those categories. Students often arrive with grass in one hand and pencil thickness sticks in the other, with nothing to connect them. I want the little twigs they walked past because they looked too small to bother with. Those tiny pieces are exactly what a new flame can heat and consume while it develops enough strength for the next size.
Process the tinder before you light it. Dry grass rubbed and worked into fine fibers behaves differently from a bundle of long, unprocessed stems, particularly when you are trying to catch a spark. Keep the fibers loose enough for air to move through them, then sort the other material so you can select what you need without digging through a mixed pile. Protect that prepared material from moisture and keep your reserves clear of the flame and blowing embers.
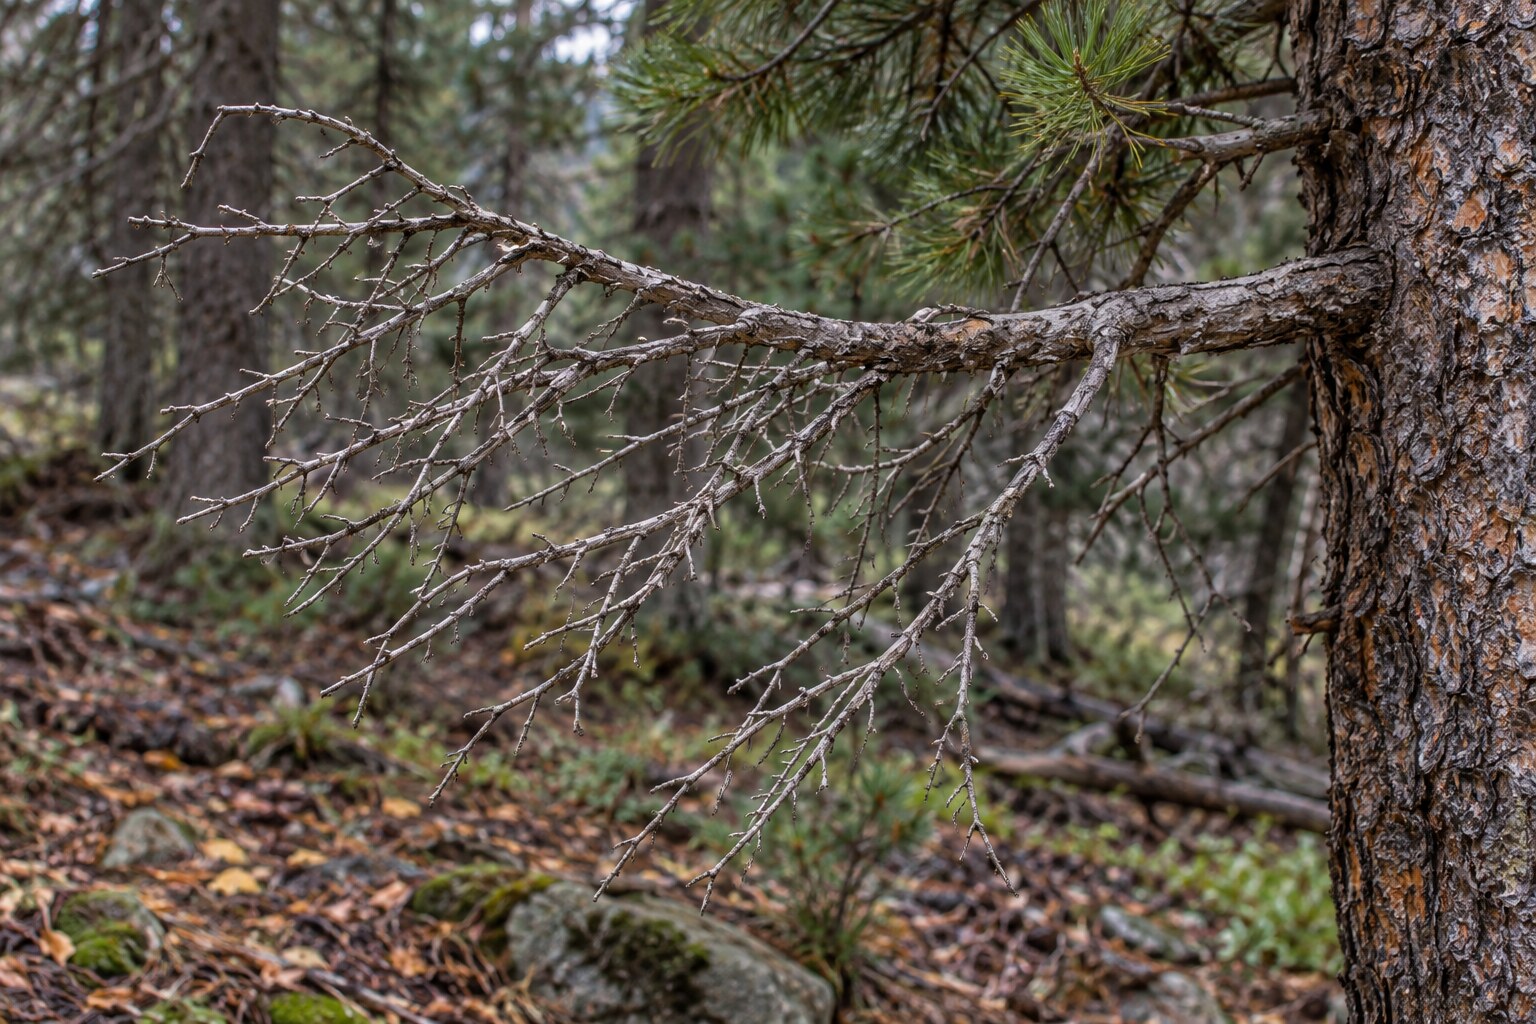
For the material that will establish your initial fire, my gathering rule is simple: Higher is Dryer. Get that first fuel up off the ground. Look for dead twigs still attached to trees and dead material caught or suspended above the forest floor. A stick sitting against the ground is exposed to moisture that you do not need to introduce while you are trying to keep a tiny flame alive.
Wood does not have to look soaked to give you trouble. Ground moisture can be present even when the outside feels dry, and a small fire has very little heat to spare. I would rather spend the time finding better initial fuel than spend it trying to convince marginal wood to burn. Select dead material, leave living branches alone, and be picky about what you gather. Your initial fuel should be dry, firm, and brittle enough to snap instead of bend. Avoid anything that feels damp, soft, rotten, or punky, and if you break into it, you should not see green wood inside.
Later, once the fire is substantial and producing sustained heat, you can begin introducing damp material gradually. That does not mean the first tall flash of burning grass has made your fire ready for damp wood. A brief flame and an established fire are different stages. Keep supporting the fire with dry kindling and fuel while it works on the damp pieces, and pay attention to whether it is continuing to grow or losing strength.
A brand new fire is a baby, and baby fire loves baby food. That is the analogy I use because people can picture it immediately. When I say food, I am talking about fuel, and the size and type of fuel has to match what the fire is capable of consuming. You would not hand a newborn a steak and get irritated because it could not eat dinner. Yet students do the fire equivalent all the time by asking a tiny flame to consume fuel that is far beyond what it is ready to handle.
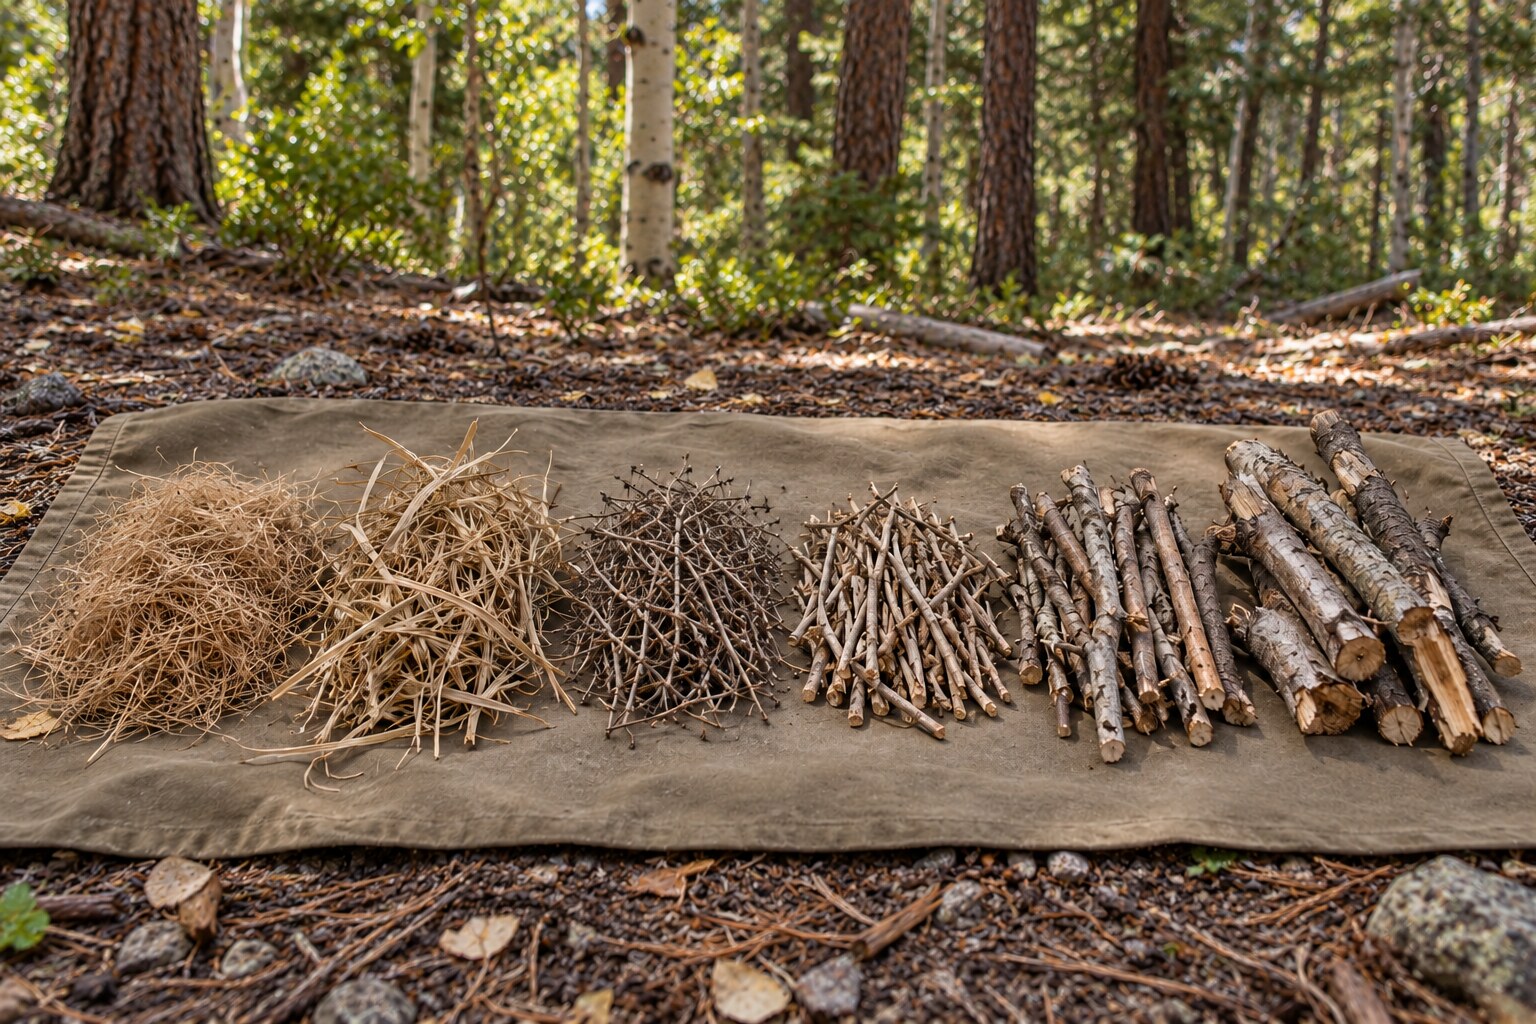
In my explanation, finely processed grass is milk. Coarser grass is banana pudding. Tiny twigs become applesauce, followed by green beans, french fries, hot dogs, and eventually steak. The foods give students an easy way to understand the progression from extremely easy fuel to material that requires considerably more heat before it will burn.
What is important, though, is that I am not carefully feeding those foods to the fire one at a time. I prepare the meal before I ever light the fire. I start with a large bowl of milk on the ground, meaning a substantial amount of finely processed tinder. Then I place a large, long, chaotic bundle of fuel above it as part of my lean to fire. That bundle contains a mixture of foods. There is more milk in there, along with banana pudding, applesauce, french fries, and even a couple of hot dogs. I am basically handing the baby a tray of food and saying, “Here you go. Eat what you are ready for.”
The key is that the tray is positioned above the milk instead of being smashed directly on top of it. I use a rock or log at the back of the fire to lay the end of bundle of sticks on so it does not lay directly on top of the tinder. This lean-to structure keeps that larger bundle elevated so the initial flame has room to breathe and climb upward through the fuel. Fire loves chaos. I do not want a perfectly organized stack of identical sticks. I want a loose mixture of different sizes, angles, openings, and contact points that gives the flames numerous opportunities to reach into the fuel and find something they can consume.
The mistake is not having bigger food present. The mistake is asking the baby to survive on food it cannot eat yet. A pencil thickness stick may be small compared with a log, but it can still be steak to a flame that has just caught in processed grass. The reason the mixed bundle works is because the flame can move through the smallest material first, build heat, and begin catching increasingly larger fuel as it grows.
Always have more milk than you think you need. Even though I give the fire a full tray of food from the beginning, I still keep a large reserve of milk sitting beside me. If the fire needs one gallon of milk, I want two gallons available. I may never use all of it, but I would much rather finish with unused tinder than watch a fire die because I prepared the absolute minimum.
This is one of the biggest differences between someone who consistently gets a fire established and someone who struggles. Beginners regularly gather enough material to create a flame, but not enough material to sustain that flame while the rest of the fuel begins heating and catching. They see the fire light and assume the hard part is finished. In reality, that first flame is only the beginning.
If the baby is eating banana pudding, applesauce, or french fries but still wants milk, I give it more milk. I do not care that larger food is already sitting in front of it. The smaller fuel keeps producing the heat that allows the larger fuel to become involved. Sometimes I will use only half of the extra milk I prepared. Sometimes I will use nearly all of it. That is why I prepare more than I think I will need before I ever introduce ignition.
A beautiful little flame that lasts five seconds does not mean you successfully built a fire. It means you successfully lit something. The goal is to have enough properly prepared fuel surrounding that flame that it continues growing instead of disappearing before the larger material is ready.
I ask students to picture the flames as the baby's fingers reaching upward through the tray of food. Those fingers move through the milk first, then begin reaching into the banana pudding, applesauce, french fries, and whatever else is available above them. When the fingers continue climbing and the fuel around them begins burning, the baby is eating and growing.
Because the bundle already contains several sizes of fuel, I do not need to stop every few seconds and introduce another carefully measured stage. The fire is already surrounded by choices. As it develops more heat, the fingers naturally begin reaching farther into the bundle and consuming material that would have been too demanding only moments earlier.
That does not mean I stop paying attention. If those fingers begin getting shorter or retreating downward, the fire is telling me that it is losing ground. Maybe the larger fuel is not ready. Maybe it needs more fine material. Maybe something shifted and reduced the airflow. Whatever the reason, I respond before the baby dies.
This is where that extra milk becomes important. I can feed more finely processed material into the fire and give those flames something easy to consume while they rebuild their strength. Even if there are hot dogs and steak sitting right above them, I am perfectly willing to go back to milk. Chances are, if those flames are starting to fall back, the baby wants more milk and it wants it right now. I do not hesitate. I move quickly and give it more milk while there is still enough flame to use it. This is where a lot of people mess up. They stop, stare at the fire, and seem to wonder whether it really needs more fine fuel. Meanwhile, the baby is getting weaker by the second. Stop hesitating. If the fire is asking for milk, give it milk, and give it milk right now!
There is no prize for refusing to go backward. If the fingers are shrinking, feed the baby what it can eat. Once those flames begin climbing again, the larger fuel is still sitting there waiting for them.
One of the most frustrating things to watch is a student finally get a small fire going and then bury it. They see flame moving through the fine material, grab a big handful of sticks, and dump the whole thing directly on top. It is like watching a baby successfully eat applesauce, then dumping a handful of hot dogs on top of it and wondering why the baby is suddenly struggling. The structure collapses, airflow disappears, and the fire is forced to deal with more fuel than it is ready to consume. What looked like extra fuel ends up smothering the very flame they were trying to feed. Don't smother the baby.
That does not mean you cannot put a large amount of fuel over a small fire. The difference is how that fuel is arranged. My bundle is long, loose, chaotic, and elevated as part of the lean to. It contains a mixture of fuel sizes, with plenty of fine material throughout, so the flames have room to climb through it and eat what they are ready for. If the fire starts to weaken, I do not pile on more wood. I give it more milk, keep the airflow open, and let it build strength before asking it to consume more.
Another habit I correct in class is blowing directly on a fragile new flame. Think about a birthday candle and what you are trying to accomplish when you blow on it. You are putting it out. A student gets a tiny flame in the tinder, leans down to help, and gives it the birthday candle treatment before it has established itself.
My instruction at that stage is straightforward: Do not blow on baby flames. Give them appropriate food and space for natural airflow, but also pay attention to where the flame actually is in relation to the fuel. Fire climbs. Flames move upward. If you get a bundle of grass burning and the flame is sitting on top of the bundle, the fuel is underneath the flame. The student will sometimes just sit there watching it and wonder why the fire is not growing. It is not growing because the flame has nothing above it to climb into.
You have a couple of options. You can carefully pick up the burning bundle and rotate or twist it so the flame is on the side or lower portion of the fuel, giving it more material above to consume. What you do not want to do is simply flip the bundle over and drop it onto the ground because that can crush or smother the small flame you are trying to preserve. Another option is to hold a second bundle of baby food above the flame and let the fire climb naturally into it. Once that flame becomes substantial, you can set it down and place your larger chaotic bundle above it using the lean-to method.
The point is to work with the direction the fire wants to travel instead of fighting it. If the flame is struggling because the fuel is too large, packed too tightly, or positioned below the flame instead of above it, fix the fuel and the position. Blowing at the flame does not solve any of those problems, and it can remove the only flame you had.
Coals and glowing material are a different situation. Controlled air directed toward an ember can help it grow hot enough to ignite nearby tinder. Those glowing pieces might be the remains of burned grass, so you do not need a bed of large wood coals before this distinction applies. The lesson is to recognize whether you are feeding oxygen to glowing material or blowing out a delicate flame.
Some students arrive with solid fire skills and demonstrate them when conditions change. Others arrive knowing very little, listen carefully, and improve because they follow the process. Then there are the students I recognize almost immediately because I have seen the pattern so many times. They are confident, they decide the details are beneath them, they nod through the explanation, and then they head out to gather material and come back with almost none of the tiny fuel we just discussed. Those are the students I watch differently, because I know the problem is probably not going to be their ability to strike a spark. It is going to be whether they are willing to slow down, pay attention, and change what they are doing when the first attempt fails.
Once they feel pressure to get a survival fire going, their decisions speed up. They strike again before fixing the tinder, add bigger sticks because the small flame looks inadequate, or repeat the same arrangement that has already failed. Now the task has become personal. They are trying to prove that they know how to do it instead of looking closely at why it is not working.
I recognize this type of student pretty quickly, and sometimes I deliberately step back and let the failure continue. I do not make a show of it, embarrass them, or pile on commentary. I just let them work. They try the same thing again, it fails again, and then they try some version of the same mistake one more time. I will often let that process continue until they finally stop trying to overpower the problem and come ask for help.
There is usually at least one person like this in nearly every class I teach. Sometimes what they need most in that moment is not another instruction from me. They need the experience of realizing that confidence is not the same thing as competence, and that refusing to adjust can keep producing the same bad result. It is better for that lesson to happen in a controlled training environment than somewhere where the consequences are much higher.
That is one of the reasons I am comfortable letting someone fail for a while when it is safe to do so. A person who refuses to back off from a bad approach in training may be the same kind of person who sees a summit, ignores worsening conditions, keeps pushing because turning around feels like failure, and ends up in real trouble. Sometimes being humbled in training can be valuable because it teaches someone to recognize when the environment is telling them to change course.
I would much rather see someone stop, admit what they missed, and correct it. If the tinder catches but the sticks never ignite, inspect the transition between them. If the flame disappears immediately after you add fuel, consider its size, moisture, and placement before reaching for more. An unsuccessful attempt can teach you something useful, but only if the next attempt changes in response to what you observed.
This connects to what I discuss in Rethinking the 5 C's of Survival. Equipment is useful, but you still have to make decisions with it. When you are uncomfortable, tired, or worried about the result, a practiced process gives you something concrete to return to. Gathering enough fine fuel may feel slow, but it is usually more productive than getting angry at the same pile of sticks.
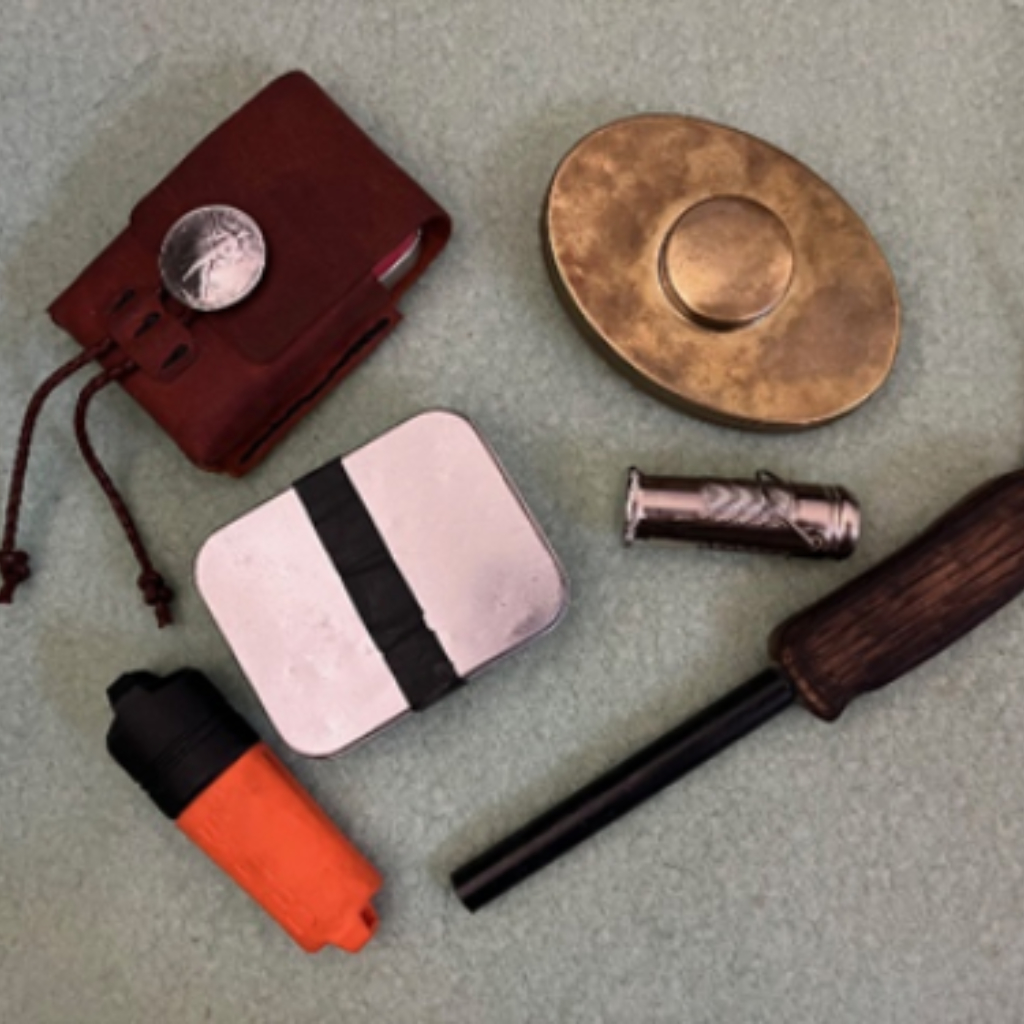
I am not against lighters or commercial tinder. Carry useful equipment and know how to use it, including a backup ignition method. During an actual emergency, use the easiest effective method available instead of creating unnecessary difficulty to prove a skill. Training is where we can change the tools and conditions deliberately and work on the parts that need practice.
A ferro rod can produce sparks while the tinder fails to catch. A lighter can ignite grass while the rest of the fuel remains untouched. Those are different problems, and buying another tool will not necessarily solve either one. Learn to identify what failed, whether that was ignition, tinder preparation, the progression into kindling, or the way you fed an established flame.
Our article on using a lighter when it is wet, empty, or damaged explores the tool side of the problem. The lesson here starts before the tool comes out and continues after it produces a flame. Whichever method you use, the fire still needs suitable material, enough of it, and a progression it can actually consume.
These are skills we work on in our Three Day Outdoor Survival Basics course at The Survival University. Students gather materials, prepare them, build fires, and see what happens when they rush a stage or choose the wrong fuel. That experience gives the baby food analogy something real to attach to. It is easier to remember why a tiny twig belongs in your fuel supply after you have watched it rescue a struggling flame.
Our Five Day Outdoor Survival Basics course gives us more time to work on fire alongside the other survival fundamentals. You do not need to arrive already good at it. Come willing to practice, pay attention, and change something when the result tells you it is not working. I would rather teach a student who listens, but I am not going to spend an hour arguing with someone whose fire keeps going out. If they are not ready to listen, I step back and let them fail until they are. Eventually they either keep fighting the same mistake or they stop, ask for help, and become teachable again.
Practice also includes deciding when and where a fire belongs. Check current restrictions and landowner rules, use an authorized fire site, and keep the fire small enough for the job and the conditions. Have water ready, keep it attended, and follow the National Park Service's campfire safety guidance for extinguishing it: soak the remains, stir, add water again, and continue until everything is cold. Being able to start a fire does not finish your responsibility for it.
The next time you practice, give the preparation the attention it deserves. Gather enough milk, enough of the next few foods, and a reserve before you create that first flame. Watch the fingers climb, keep the smaller food coming through each transition, and back up when the fire tells you it is not ready. Once you can recognize those changes and respond without rushing, you have something much more useful to bring into the woods than confidence alone.
Jason Marsteiner is the founder and lead instructor at The Survival University near Cripple Creek, Colorado. He teaches wilderness survival through practical field instruction, with an emphasis on preparation, judgment, and adapting when conditions change.
A carved stake and a broken stick can hold up the same tarp. Jason Marsteiner explains how survival and bushcraft share a toolbox, why urgency...
A lighter and a pile of sticks do not guarantee a survival fire. Jason Marsteiner explains the mistakes he sees in class, from skipping tiny...
When something goes wrong outdoors, the phrase “avid outdoorsman” is often used as reassurance. But time spent recreating in wild places does not automatically prepare...
Getting lost isn’t random, it’s preventable. Lost proofing teaches awareness, communication, and preparation so you never become a headline. Learn the mindset and habits that...
The 5 C’s of Survival have guided outdoorsmen for years, but gear alone doesn’t save lives. Real survival is about mindset, adaptation, and the decisions...
Learn how to start a fire with a lighter even if it’s broken, empty, or wet. Master fire-starting techniques and build confidence in real-world survival...

Discover the importance of developing a survivalist mindset in our latest blog post by Jason Marsteiner, founder of The Survival University. Learn how immersive training,...
Survival is not just about wilderness skills, it is also about a strong mindset. Understand Survival psychology to increase your survival chances.